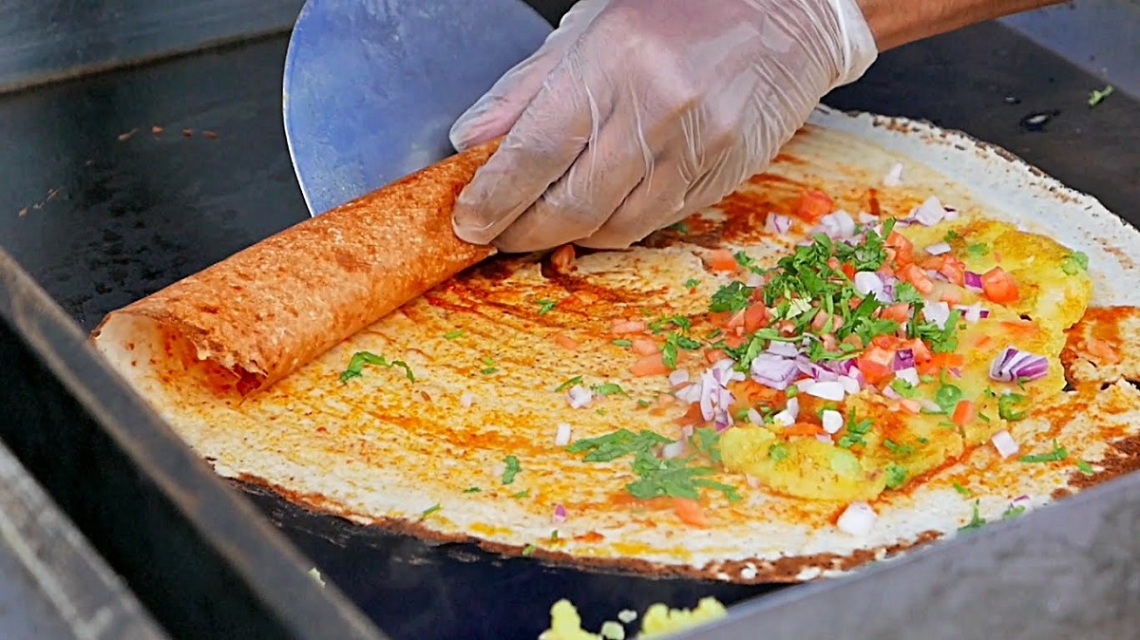
My family loves dosas, who doesn’t for that matter. We just love them a lot more, to the extent that we can call ourselves converted south-Indians. After a lot of trials of various combinations of batter, cooking method, a lot many errors I have finally arrived at the CORRECT mode of making crispy, paper thin dosa from HOMEMADE batter.
So here is my precise method.

# Buy the correct TAWA
At first I tried using pre-greased, hot but regular tawa. The first few dosas were always a real struggle to separate from the tawa though subsequent ones turned out okish to some extent. Non- stick tawa was my next option. The dosa did not stick as much here, but it was still thick which is why the taste wasn’t as great. The non-stick coating also spoiled easily making it un-heathy for everyday cooking.
Recently, I have started using the Marble tawa – ones that have sparkle and I cant tell you how pleased I am with the dosas now. They come out paper thin, crispy and with very very little amount of oil.

# BATTER Portion
This combination was shared by my very close Kannadiga friend. Try it
Ingredients
1 bowl of split urad dal
2 bowls of par-boiled rice
1 tsp of methi
Yes, you don’t need soda, so its 100% chemical free. Though you need to ensure that you use par boiled rice or thick variety of rice which is dark-yellowish/light-brown in color.

Method
Rinse all the ingredients with water, just once and let it soak fully in sufficient water for 6 hours. Don’t put the lid of the bowl so that the mixture doesnot start fermenting. Cover it with a jaali. Now grind this mixture into a smooth paste, its consistency should be similar to that of your shampoo. Not very liquidy. Add salt to taste and stir well. Cover the bowl fully with the lid and let the batter ferment overnight, approx. 8-10 hours. The batter ferments quicker during summer months than winters. You batter will rise upto 2 times once ready.
# Making THE DOSA
Here are a few tips that will help you get the right dosa
Tip #1: To make paper thin dosa, stir the batter and add a small amount of water so that the batter spreads thinly on the marble tawa. If the batter is thick, it will not spread much leading to thick and soft dosa.

Tip #2: Keep the flame low when you start spreading the batter. This way, you will get some time to spread out the batter evenly. On high flame, the batter will start drying up fast making it difficult to spread it.
Tip #3: Once the batter has been spread, keep it on high flame. Add the desired amount of ghee or refined oil – more oil will obviously give you extra crispiness and taste.
Tip #4: When cooking with less oil, I toss the dosa, so that its well done on both sides.
Tip #5: If you try to separate the dosa from the tawa too soon, it will tend to crumble. So let the dosa cook, then it will come off very easily.
Tip #6: I have also bought a silicone palta, which makes it quite easy to work with the dosa. And it doesnot spoit the marble tawa.

Fill it up with cheese or chutney powder if you don’t know or want to take the effort of making the aloo-masala and serve with coconut chutney. My kids love this dosa so much that it makes to their breakfast table almost 4 times a week.
Frankly, I love homemade dosas as they are 100% chemical free, made with less oil and fermented foods are rich sources of probiotics – good for building immunity.
I hope you found it useful. I would love to read your comments.
Bon Appetit


6 Comments